
How to Adjust Hinges for a Perfect Fit
After installing your cabinet doors, making sure they hang just right is key. Luckily, adjusting your hinges is a simple process that can quickly solve any alignment issues. Whether your door is misaligned, too tight, or not closing properly, these easy steps of how to adjust hinges will help you get everything in perfect shape.
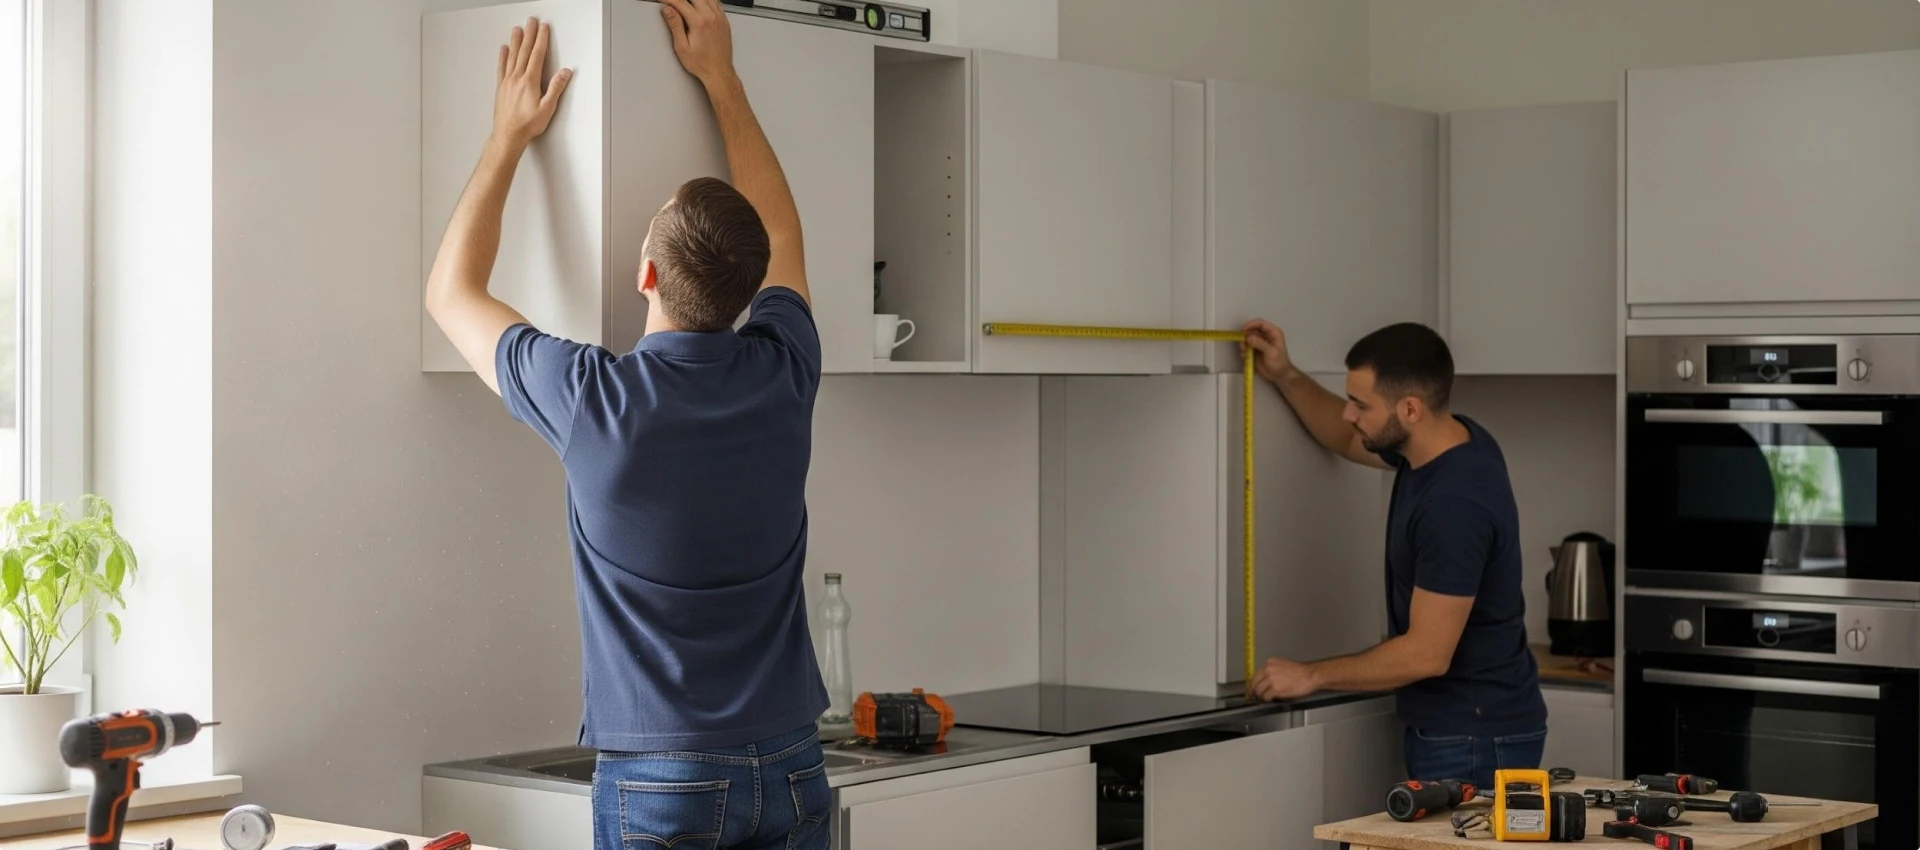
Check the Door Alignment
Before adjusting the hinges, take a moment to check the overall alignment of your door. Is it sitting square and even with the cabinet frame? Make sure the gaps around the door are uniform on all sides. If it’s not, adjustments are needed.


Locate the Adjustment Screws on the Hinges
Most concealed hinges offer built-in adjustment features. These hinges allow you to make adjustments in three directions: up/down (vertical), left/right (horizontal), and in/out (depth).
- Vertical adjustment: Moves the door up or down to align it with the frame.
- Horizontal adjustment: Moves the door left or right for better alignment with neighboring doors.
Depth adjustment: Shifts the door forward or backward, depending on how tightly or loosely it closes.
Look for the small screws on the hinge plate that allow for these adjustments. Some hinges have screws that can be turned with a screwdriver, while others may require a flathead screwdriver.
Adjust the Vertical Position of the Door
If the door is too high or too low:
- Step 1: Loosen the vertical adjustment screw (typically located on the hinge plate). This screw controls how far the door sits in the frame.
- Step 2: Adjust the door’s height by moving it up or down.
- Step 3: Tighten the screw to lock the door into place.
Tip: Check the alignment as you go, and make small adjustments to avoid overcompensating in one direction.

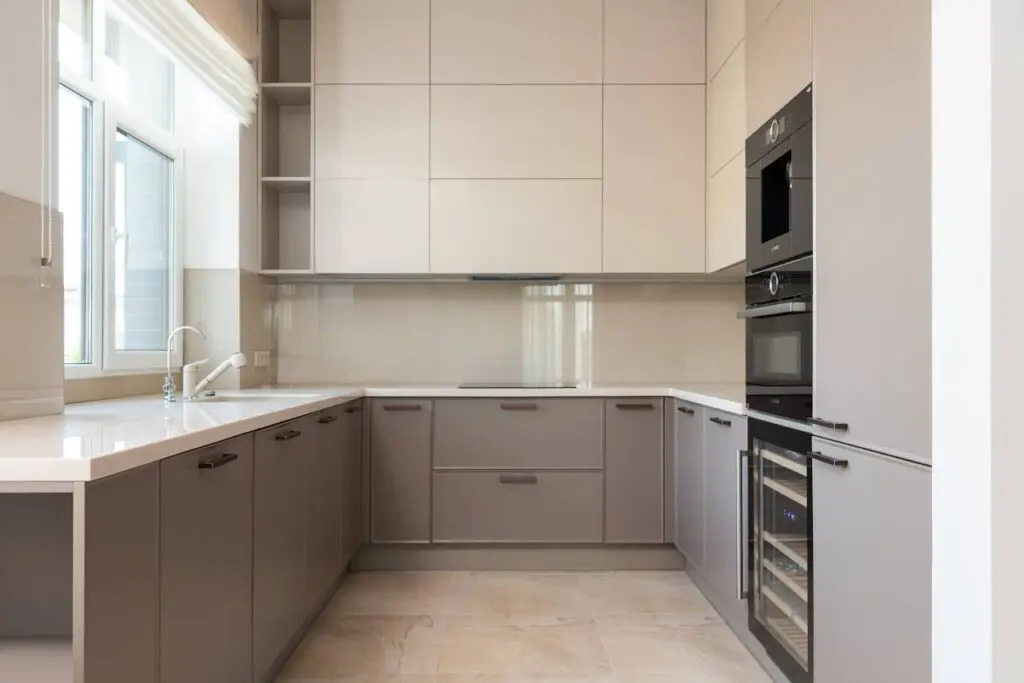
Adjust the Horizontal Position of the Door
If the door is not centered properly within the frame (too far left or right):
- Step 1: Locate the horizontal adjustment screw on the hinge plate.
- Step 2: Loosen this screw slightly, and move the door horizontally to the left or right to adjust its position.
- Step 3: Tighten the screw after making the adjustment to hold the door in place.
Tip: Make sure the door lines up evenly with adjacent doors, especially if you’re installing multiple doors in a row.
Adjust the Depth (In/Out) of the Door
If the door is too far in or out from the cabinet frame:
- Step 1: Look for the depth adjustment screw on the hinge.
- Step 2: Turn the screw to move the door slightly inward or outward to get the right fit. This adjustment ensures the door closes properly without rubbing against the frame.
- Step 3: Tighten the screw once you've achieved the correct depth.
Tip: Make sure the door is flush with the cabinet frame and that it closes without friction. If it rubs or sticks, adjust the depth slightly.

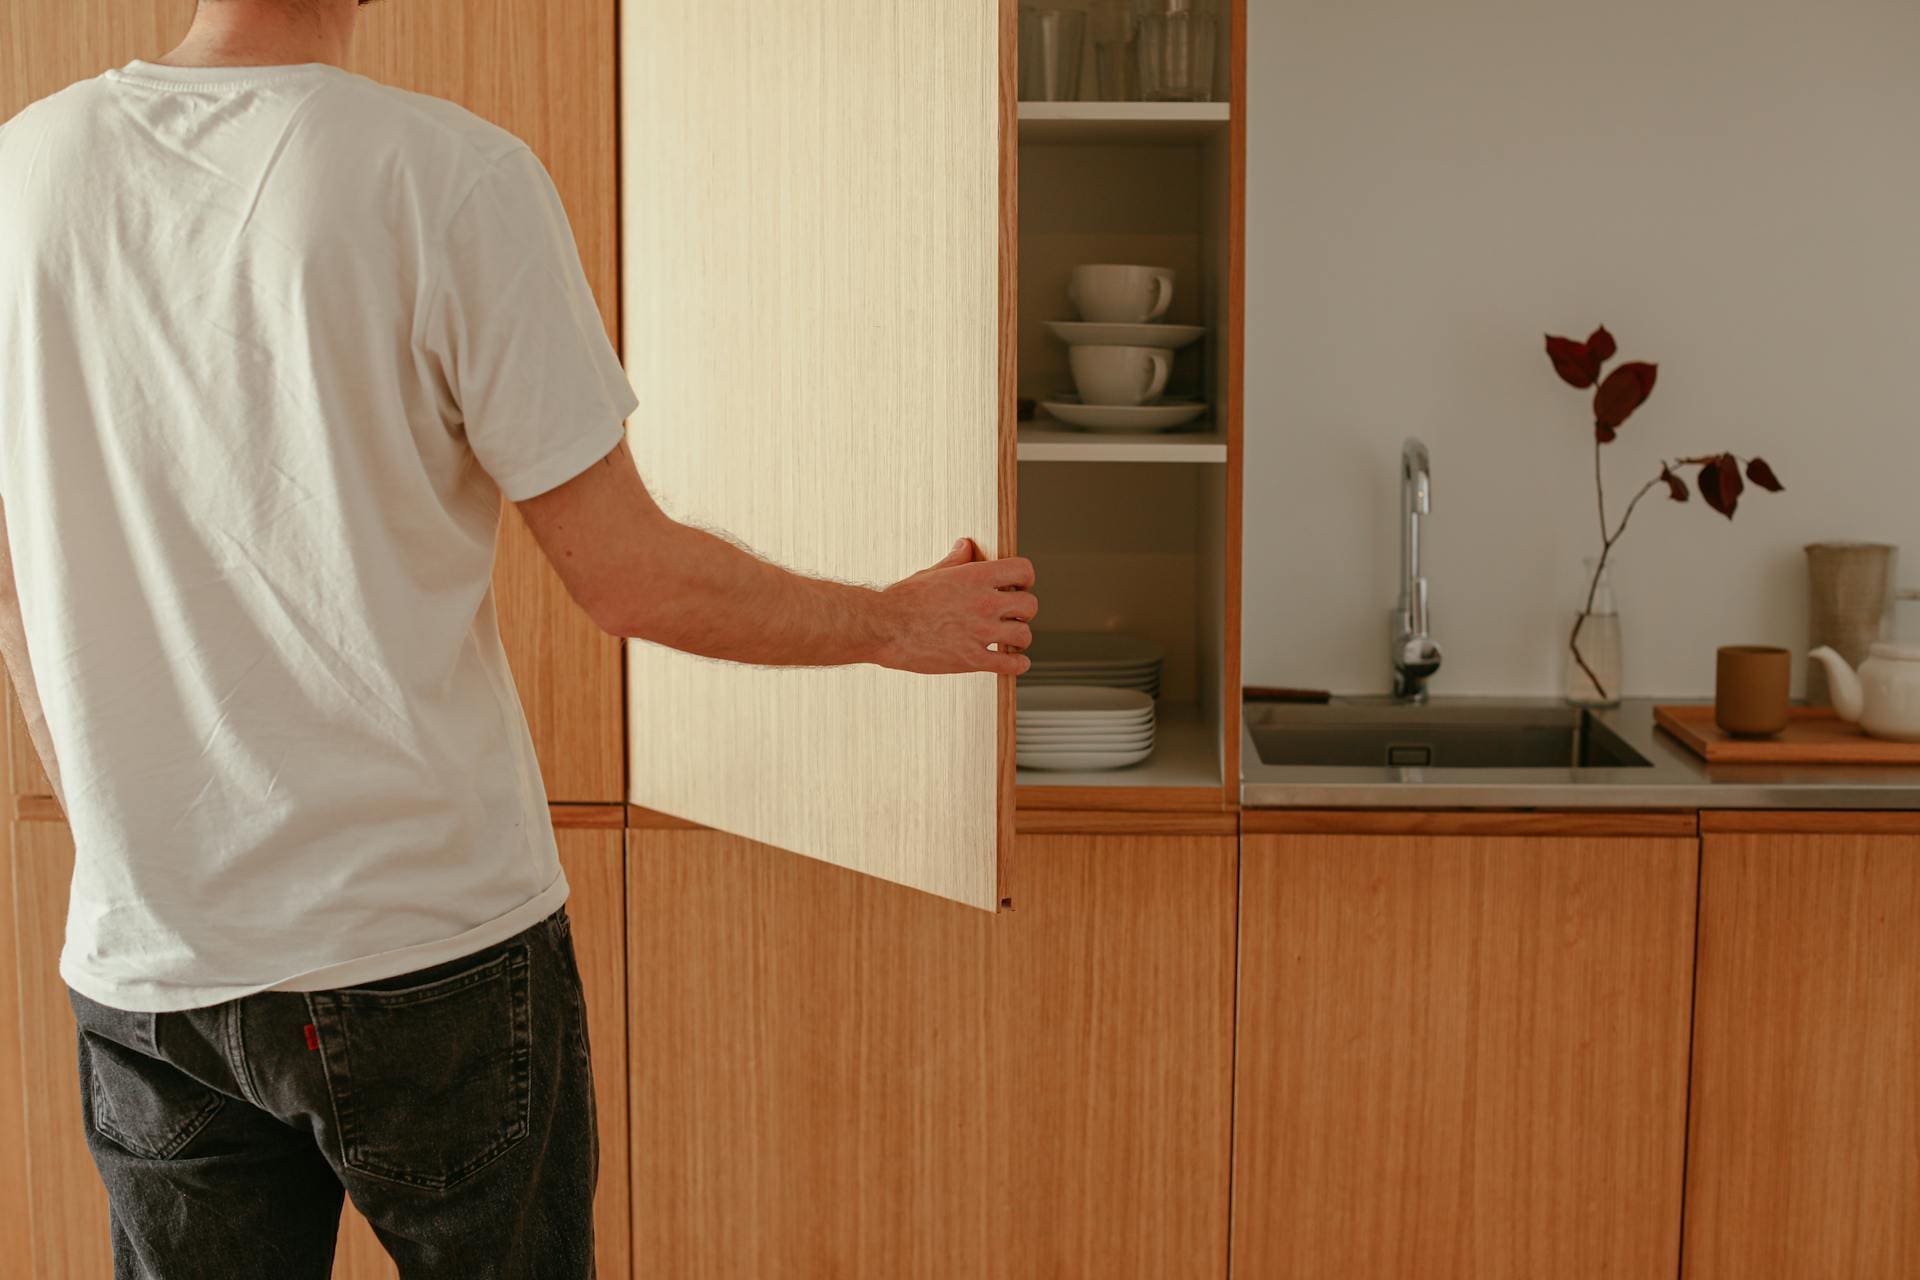
Test the Door Movement
After making adjustments, open and close the door a few times to check its movement. Does it open smoothly? Does it close securely? Ensure the door swings freely and doesn’t scrape or bind on the frame.
Tip: Take your time with each adjustment. A small tweak can make a big difference in how the door fits.
Fine-Tuning the Door
If you’re still seeing any issues, like uneven gaps or difficulty closing, make slight adjustments to the hinge screws. Sometimes, even a tiny change in the hinge position can improve the overall fit.
Final Check:
- Open and close the door several times to check for smooth operation.
- Check the gaps between the door and frame to ensure even spacing all the way around.
- Ensure the door closes properly without resistance.

Secure the Hinges
Once you’re satisfied with the adjustments, tighten all screws securely. Ensure the screws are snug but not over-tightened, as this could cause damage to the door or hinge.
Additional Tips for Perfect Hinge Adjustments:
- Be patient: Small adjustments often make a big difference, so take your time with each hinge.
- Use a level: Make sure the door is level during every adjustment to keep it square with the frame.
- Check alignment after each step: It's always a good idea to recheck the door after each adjustment to make sure everything aligns perfectly.