A simple way to add both style and function to your space.
Follow this step-by-step guide to install floating shelves with confidence and get professional looking results.
Tools & Materials Needed
Drill
Stud finder
Pencil & level
2.5-inch screws
Pin nails
optional for added security
Step 1: Unbox and Prepare
Get your space ready for installation.
After unboxing your shelf, choose the wall where you want to install it. Clear the area and make sure you have enough room to work.
Step 2: Locate the Studs
Secure shelves start with solid anchors.
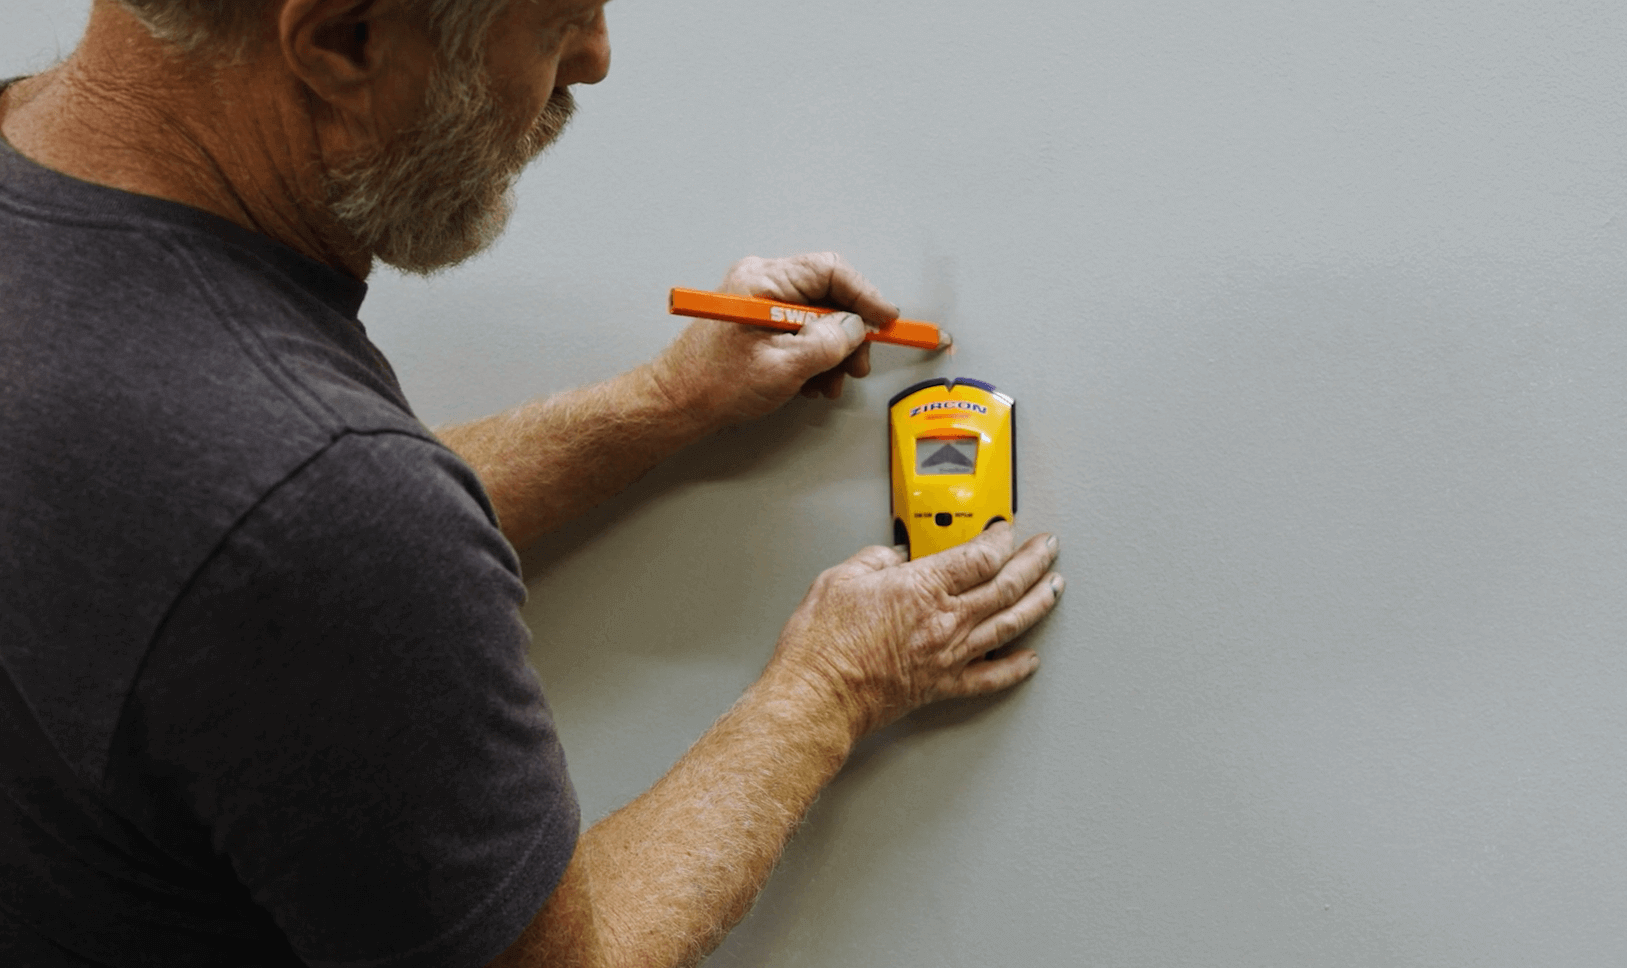
Use a stud finder to identify studs along the wall and mark them lightly with a pencil. Your shelf must be mounted into at least two studs for stability. Wider shelves may require more.
Step 3: Align the Mounting Bracket
Ensure everything is level.
Hold the mounting bracket against the wall, lining it up with the stud marks. Use a level to confirm the bracket is perfectly straight before drilling.
Step 4: Pre-Drill Holes
Build a stronger foundation
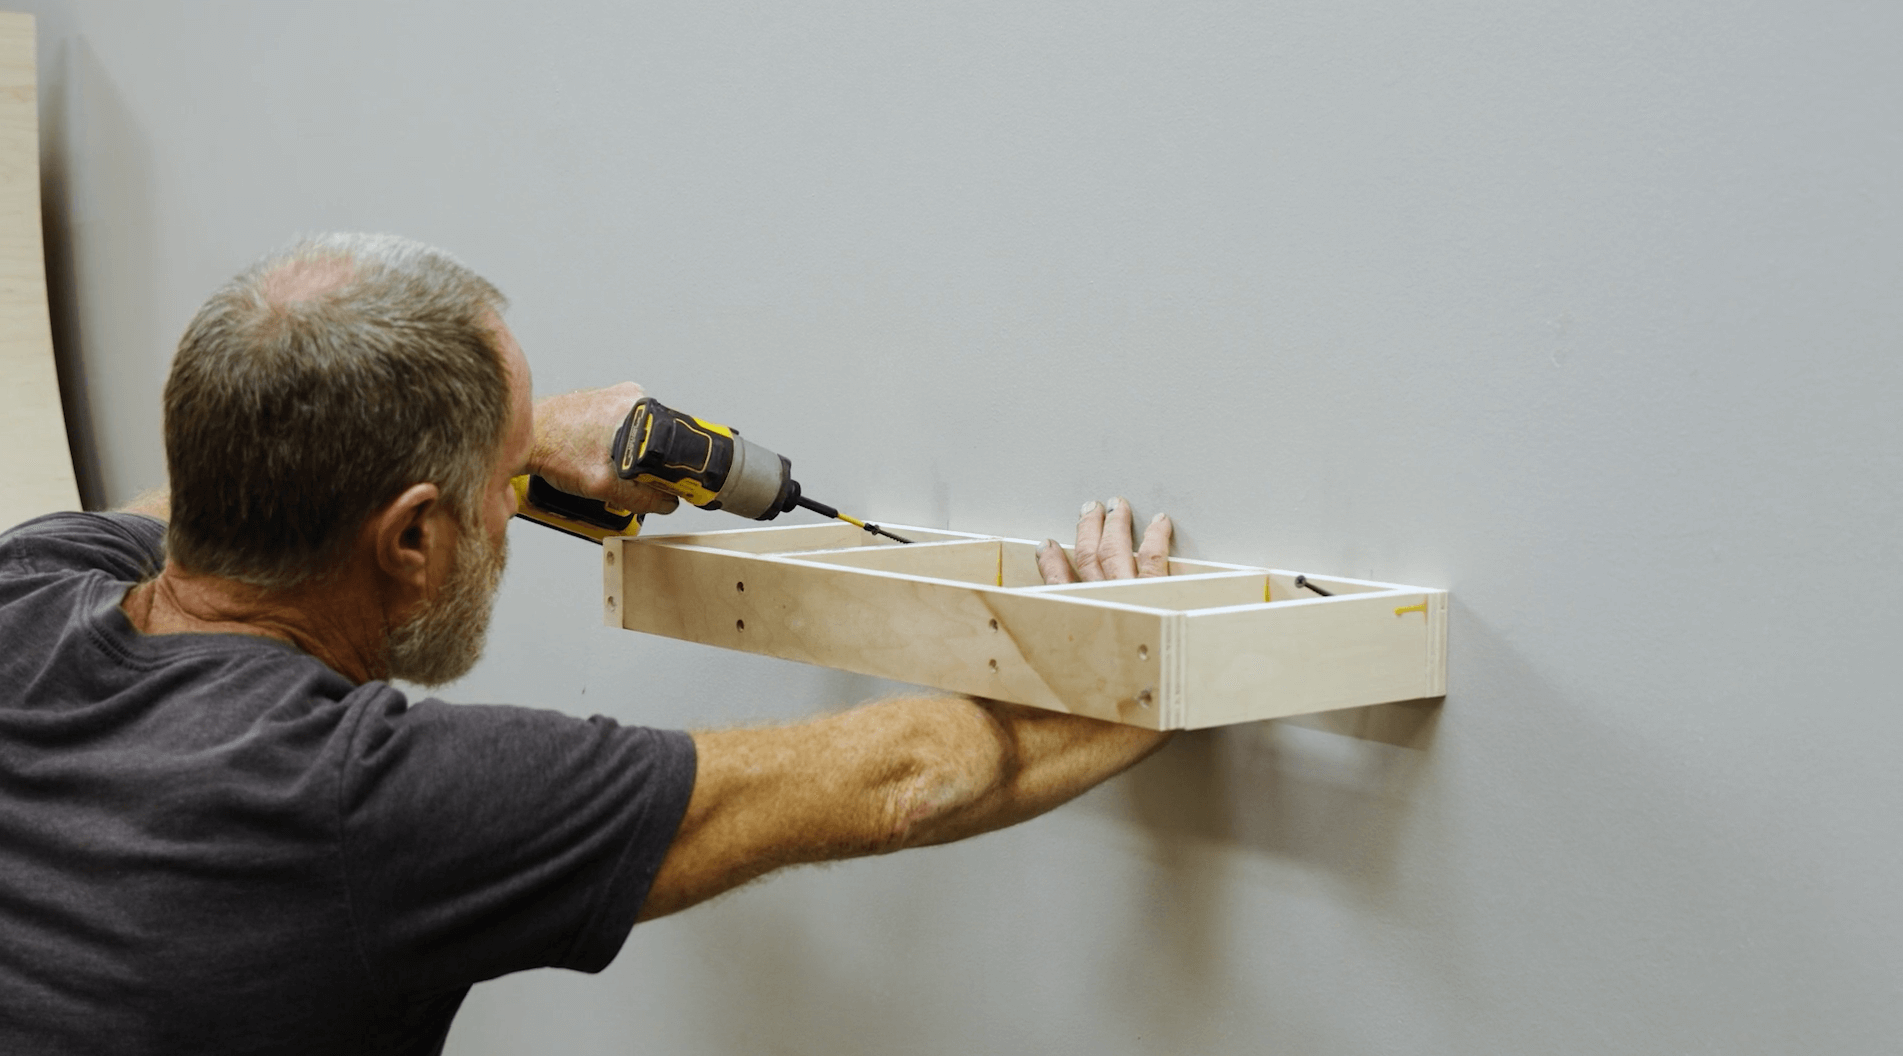
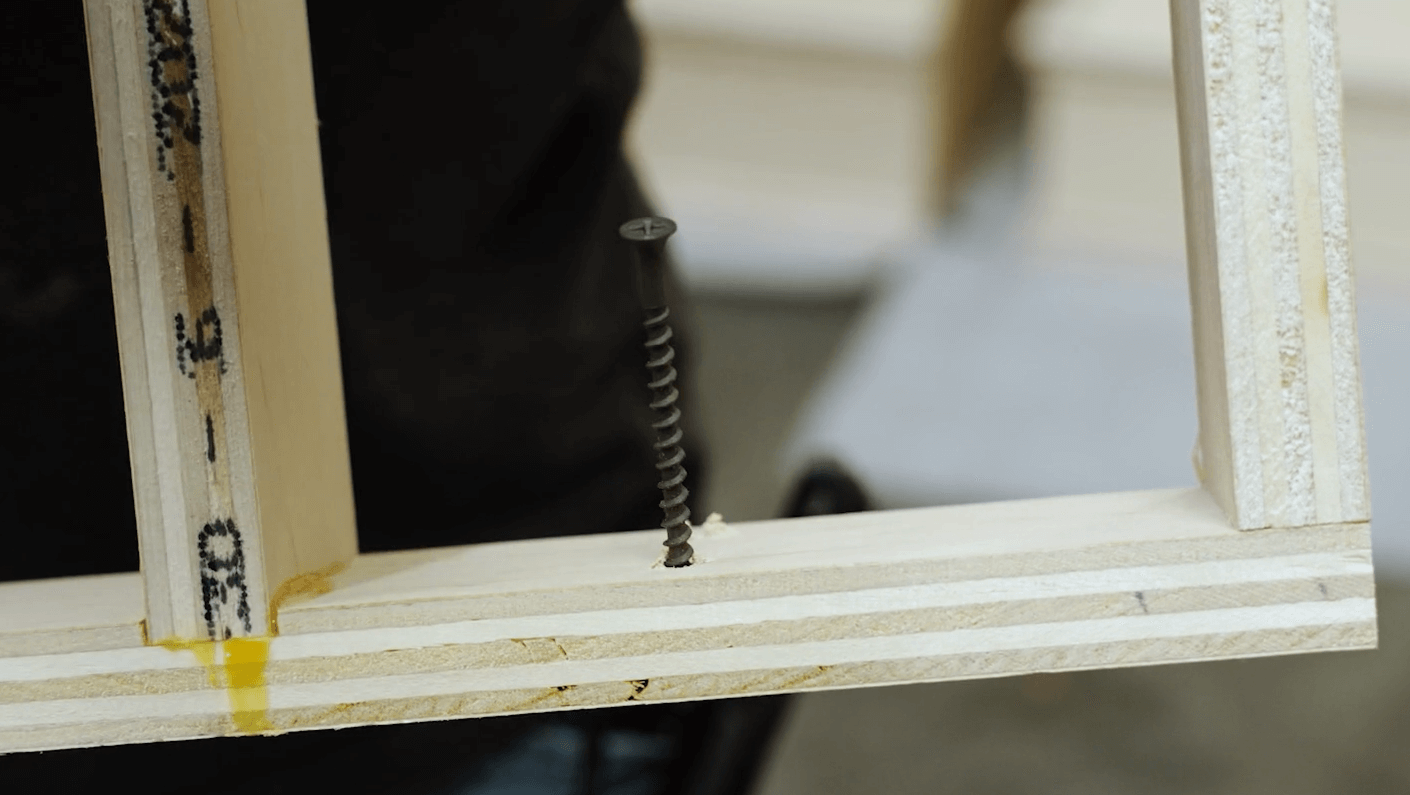
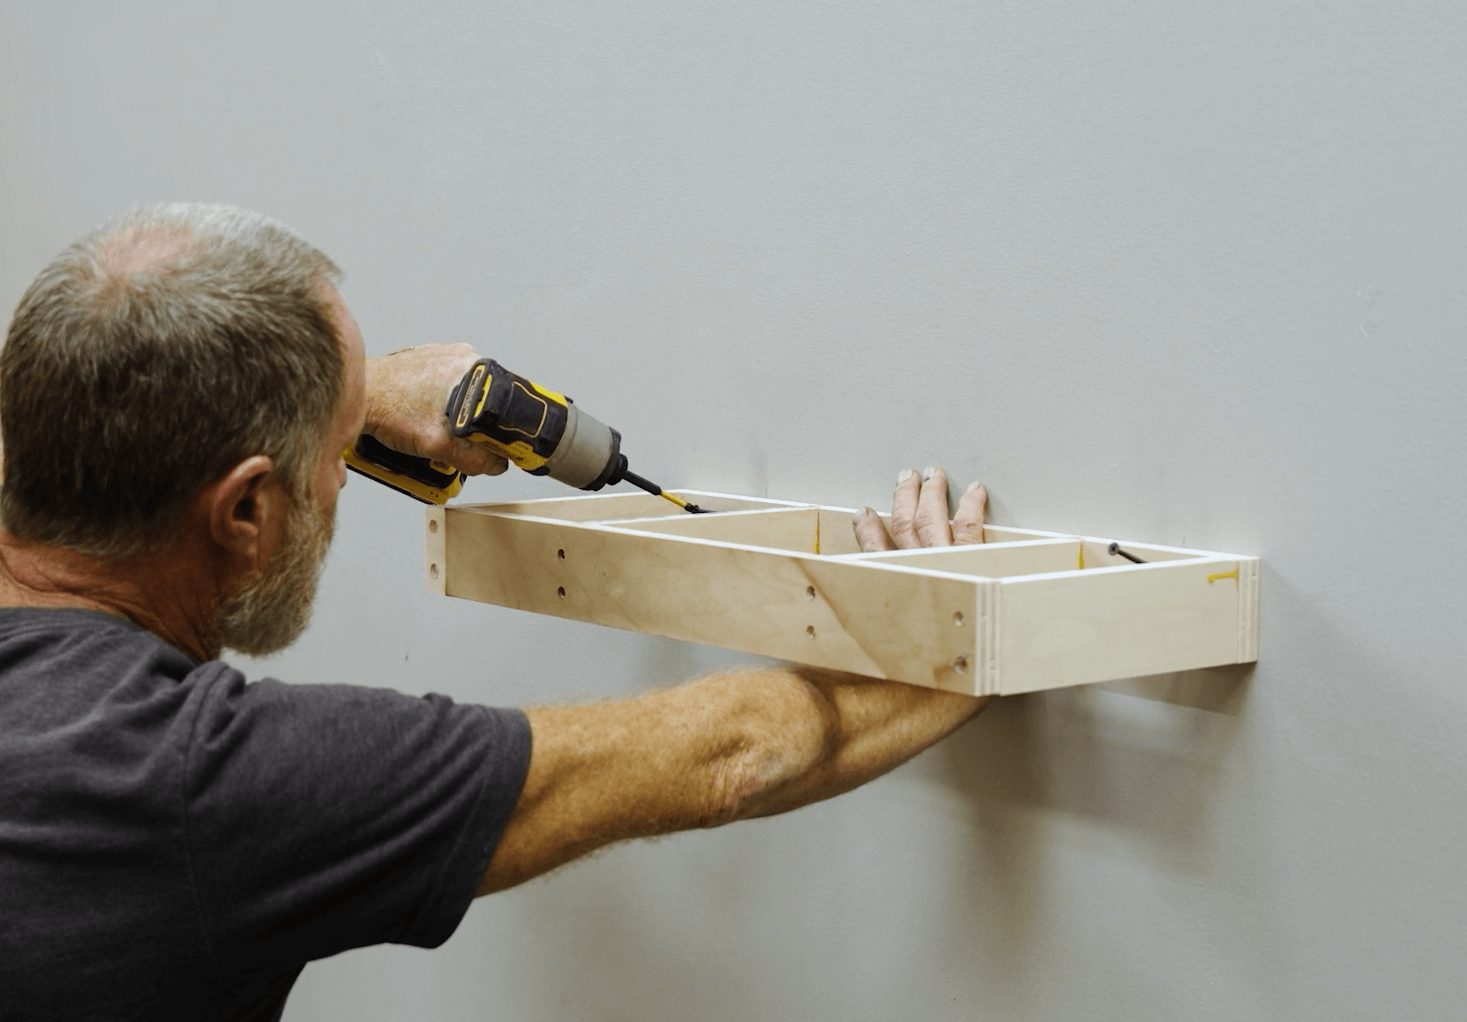
At each stud location, pre-drill two angled holes into the bracket. Drilling at a slight angle increases the holding strength of your shelf.
Step 5: Secure the Bracket
Lock your shelf base into place.
Insert 2.5-inch screws through the pre-drilled holes and into the studs. Tighten until the bracket is firmly secured against the wall.
Step 6: Slide on the Shelf
The finishing touch.
Once the bracket is secure, slide the shelf sleeve over it until fully in place.
Step 7: Lock It In (Optional)
Add extra stability.
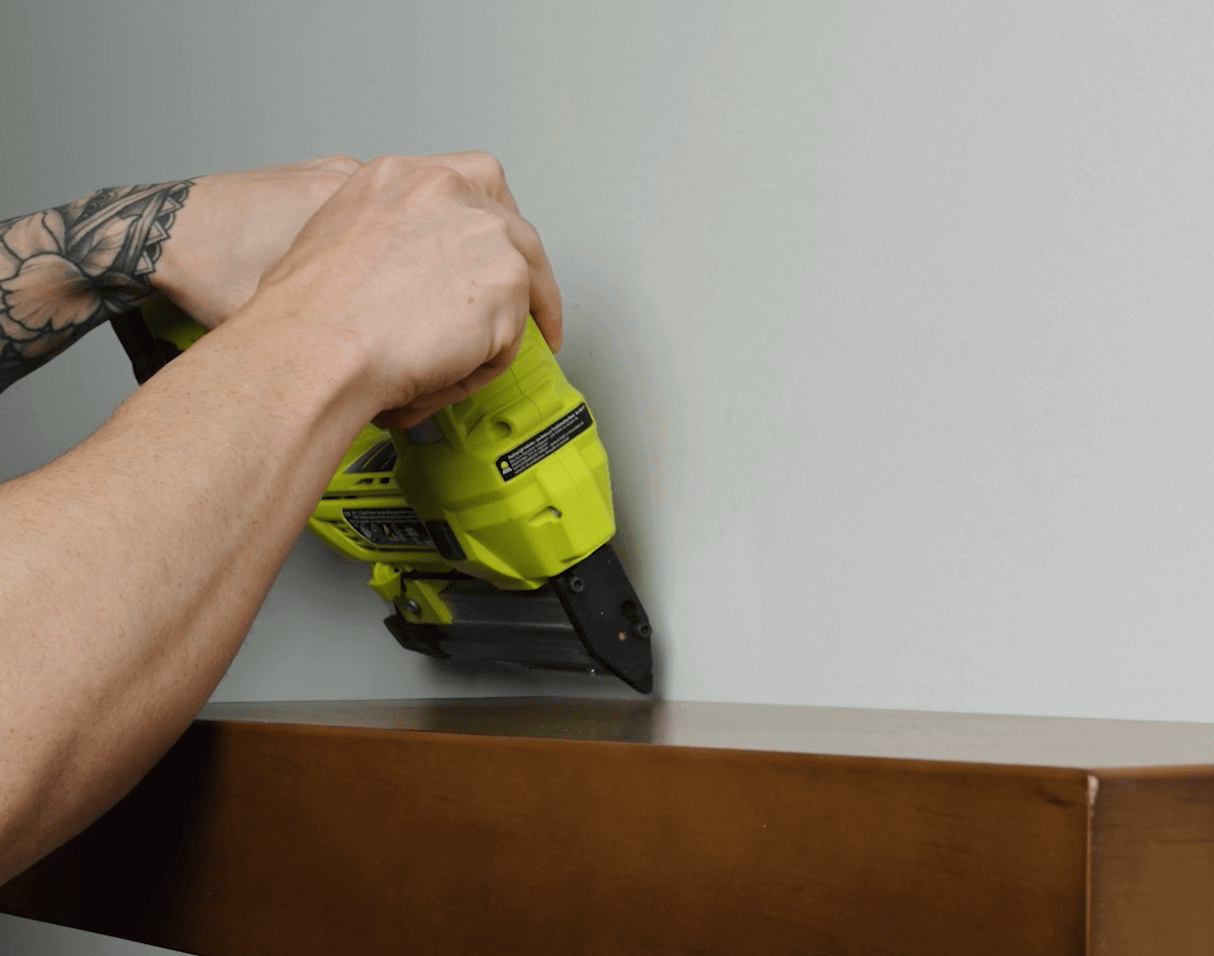
For added security, use pin nails to fasten the sleeve to the bracket. This step helps prevent any shifting over time.
Final Tip
Expert help is always available
Your shelf is now ready to hold décor, books, or anything else you’d like to display. If you have questions or a unique situation, our team is here to help. Reach out any time for guidance to make sure your new doors fit perfectly.