
How to Mount Your Cabinet Door onto the Frame
A Simple, No-Stress Guide to Installing Your New Cabinet Doors.

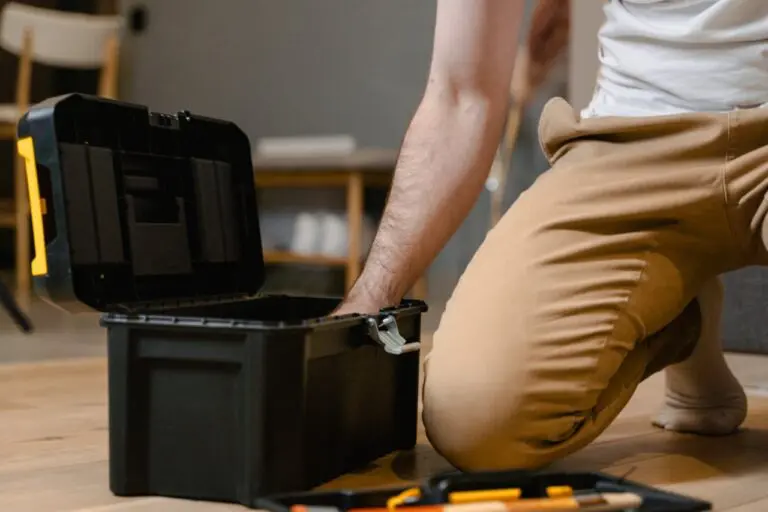
Tools You’ll Need
Here’s a quick list of the tools you’ll need to get the job done right.
Tools List:
- Screwdriver: To attach hinges to the door and the cabinet frame.
- Power Drill: For driving screws into the cabinet frame and door (if you're using your own hinges).
- Level: To make sure your door hangs straight.
- Clamps (Optional): To hold the door in place while you make adjustments.
- Hinges (Included with your order or purchased separately): Choose our pre-holed doors for easy installation with the included hinges. Alternatively, you can use your own hinges, but the doors won’t be pre-holed (this requires more careful drilling).
- Screws: Make sure you have screws that are the right size for your hinges and frame.
How to Install Your New Cabinet Doors
Installing your new cabinet doors should be a fun, rewarding project! With just a handful of everyday tools and a little preparation, you’ll breeze through the process and enjoy gorgeous, professional results.
Step 1 :
Gather Your Tools
You’ll need:
- A screwdriver or drill
- Tape measure
- Level
- Pencil
- Hinges (either purchased through us or your own)
Step 2 :
Check Your Hinges and Boring
When ordering your cabinet doors, you have two options for hinges:
- Option 1: Order Hinges Through Us (Recommended)
Order your hinges through CDP and leave the details to us! We’ll bore your doors using our tools to align with our hinges, so everything fits together like a dream. This means a quick, worry-free installation and flawless results that you’ll love showing off.
- Option 2: Use Your Own Hinges (Not Recommended)
If you’d rather use your own hinges, you’ll need to select your boring pattern and distance when you order. Since hinge styles and placements vary, double-check your measurements for the best fit. Getting this right means your doors will swing smoothly and look fantastic!
Step 3 :
Attach Hinges
Once your hinges are ready:
- Attach hinges to the door using the pre-bored holes.
- Hold the door up to the cabinet frame and mark your screw placement.
- Secure the hinges to the frame and check for even spacing and level alignment.
Step 4 :
Adjust and Test
Give your new doors a gentle test swing to make sure everything lines up just right. Most hinges offer easy adjustments, so you can fine-tune the fit and enjoy a truly custom, polished finish.
Final Tips & Troubleshooting
Great job! Now that your door is mounted, take a few minutes to inspect everything and make sure it’s working smoothly.
Common Issues & Solutions:
- The door won’t close properly: Ensure the hinges are aligned and the door is level.
- The door is too loose or too tight: Adjust the hinge positions slightly and re-tighten.
- Uneven gaps between doors: Adjust the hinge positions to ensure a consistent fit with other doors.

FAQ – Troubleshooting Your Cabinet Door Installation
Here are some answers to common questions to help you along the way!
How do I know if my cabinet is level?
Use a level to check the top and bottom of the cabinet frame. If it’s not level, use shims to adjust it before mounting the door.
What if my door is uneven after installation?
Check the hinge screws for tightness. If it’s still uneven, adjust the hinges or use the screws provided to make minor tweaks.
Do I need special tools for installing concealed hinges?
Concealed hinges usually come with a special attachment tool or instructions. Follow the manufacturer’s guidelines for installation.
Need additional help?
Contact us! We’re always here to ensure your DIY project goes smoothly.