
How to Stain Cabinet Doors: A Step-by-Step Guide
Our unfinished cabinet doors are designed to give you flexibility and control over your final look.
This guide walks you through choosing the right stain, the tools you need, and staining your CDP doors for the best possible results
Choosing the Right Stain for Your Doors
Before you begin staining cabinet doors, it is important to understand how different wood species and stain types will affect the final result. All of our unfinished doors are ready for finishing, but the wood type you select plays a big role in how the stain appears.
Wood Type Considerations
- Pine, maple, and birch have tighter, uneven pore structures and may stain inconsistently. Using a conditioner or careful wipe timing can help reduce blotching.
- Oak, walnut, and hickory have open pores and typically accept stain evenly across the surface.
- Cherry and alder naturally darken over time and have warm red or orange undertones. These species pair well with richer, warmer stains.
Stain Base Options
Water Based Stains
- Lower VOC and more environmentally friendly
- Dry faster which means less working time
- Sit closer to the surface of the wood rather than penetrating deeply
Oil Based Stains
- Penetrate deeper into the wood fibers
- Enhance grain depth and natural character
- Dry slower, allowing more time to work and adjust color
Custom Looks and Layering Techniques
One of the benefits of ordering unfinished doors from us is the ability to customize your finish. Layering stains can create unique designer looks when done correctly.
Always use compatible products (water based stains must be layered with water
based products and oil based stains with oil based).
Antiqued Finish
Apply a darker stain over a lighter base color, then lightly sand high spots to create an aged, worn appearance.
Color Washing
Apply a diluted second coat of stain to add a soft tint while still allowing the wood grain to show through.
Two Tone Effects
- Commonly used on oak and hickory doors
- Rubio Monocoat is recommended
- Use contrasting colors that enhance the grain while allowing each tone to stand out
What You Will Need
Having everything ready before you start helps ensure a smooth, consistent finish on your CDP doors.
- Nitrile gloves
- Dust mask or respirator
- Drop cloths
- Rags and staining sponges
- Tack cloth and microfiber towels
- Sanding sponges in 180, 320, and 600 grit
- Compressed air or a vacuum
- Your chosen stain and a compatible clear coat
- Wood putty and plastic putty knives
- Sprayer airless or air air-assisted, or HVLP cup gun recommended for best results
- Small brushes, approximately half an inch, for profiles and panels
How to Stain Your CDP Doors
Step 1:
Light Prep Sanding
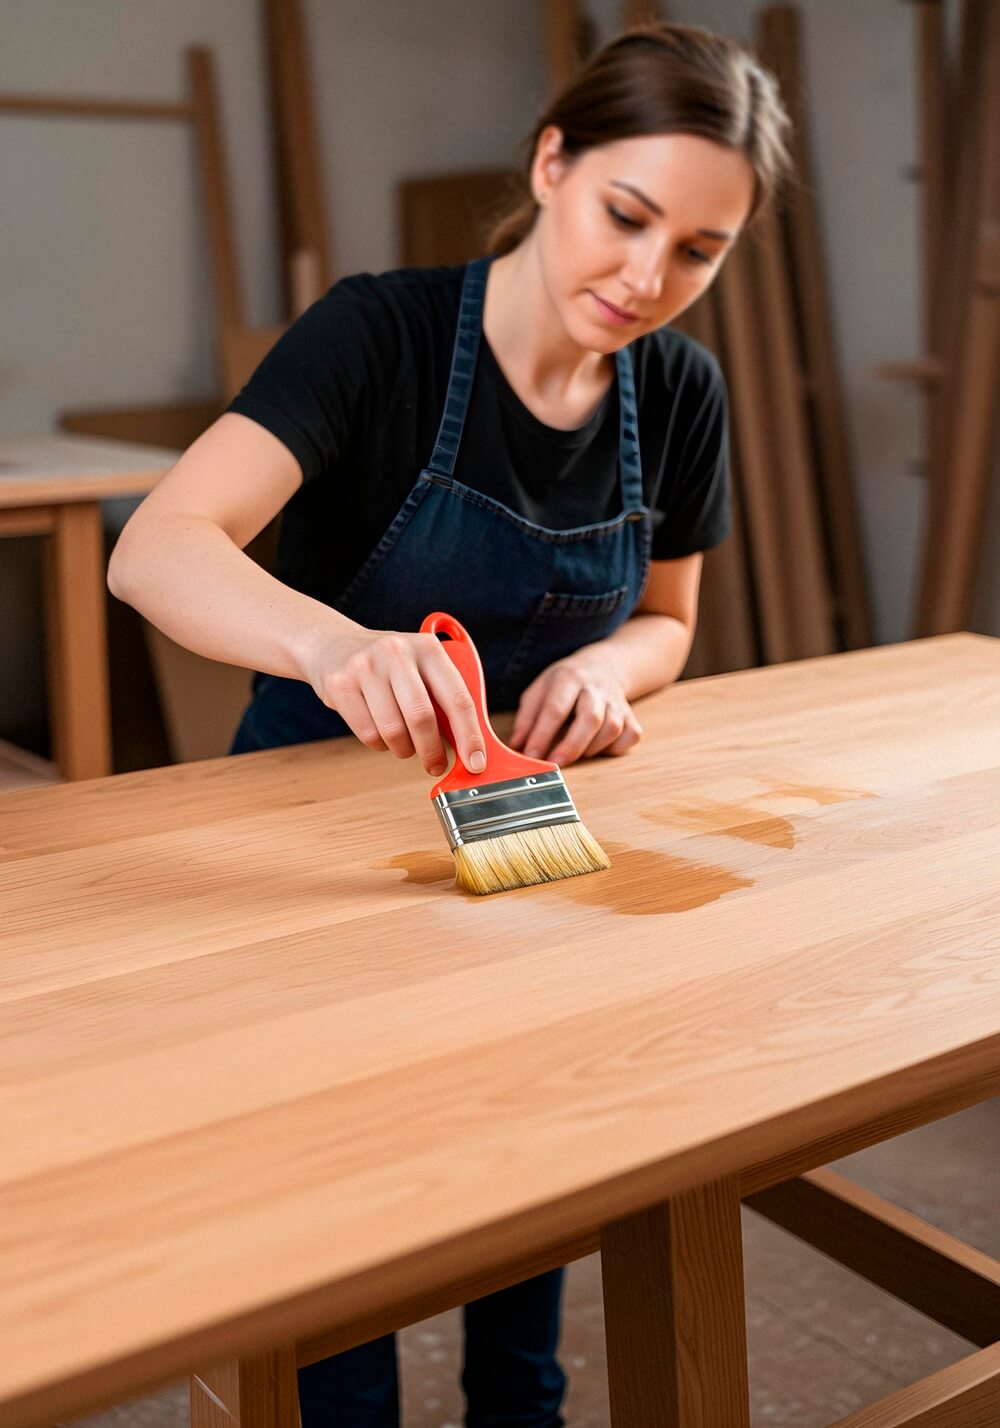
Your CDP doors arrive raw, unfinished, and sanded. You may want to very lightly sand with 180-grit to remove any handling residue and to slightly raise the wood fibers. Make sure edges are softened rather than sharp.

Step 2:
Remove Dust
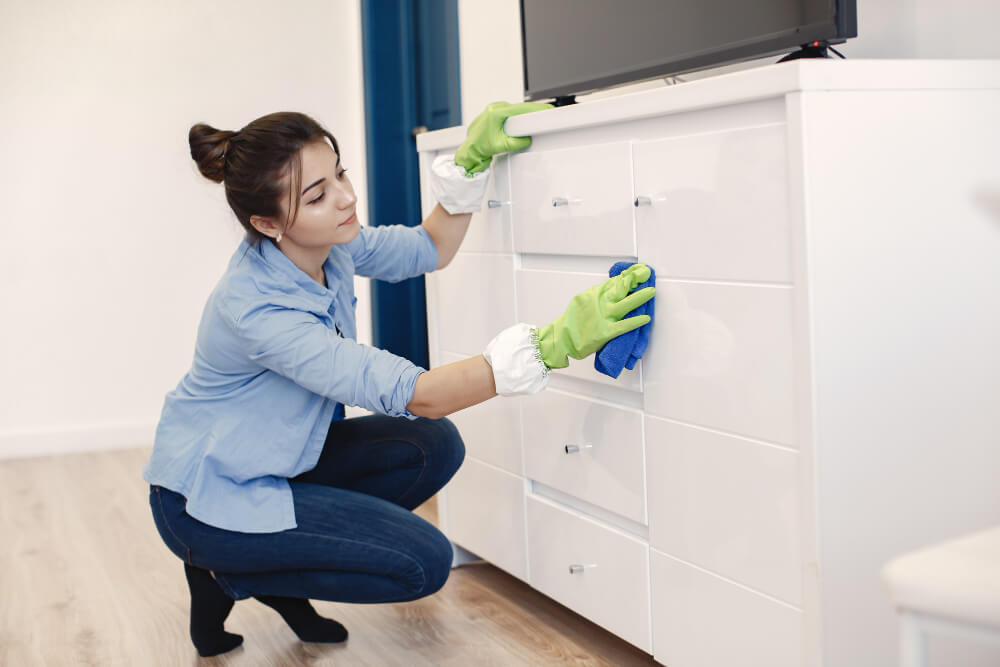
Use compressed air or a vacuum to remove all sanding dust. Avoid touching the vacuum directly on the wood to prevent scratches.
Step 3:
Inspect the Surface
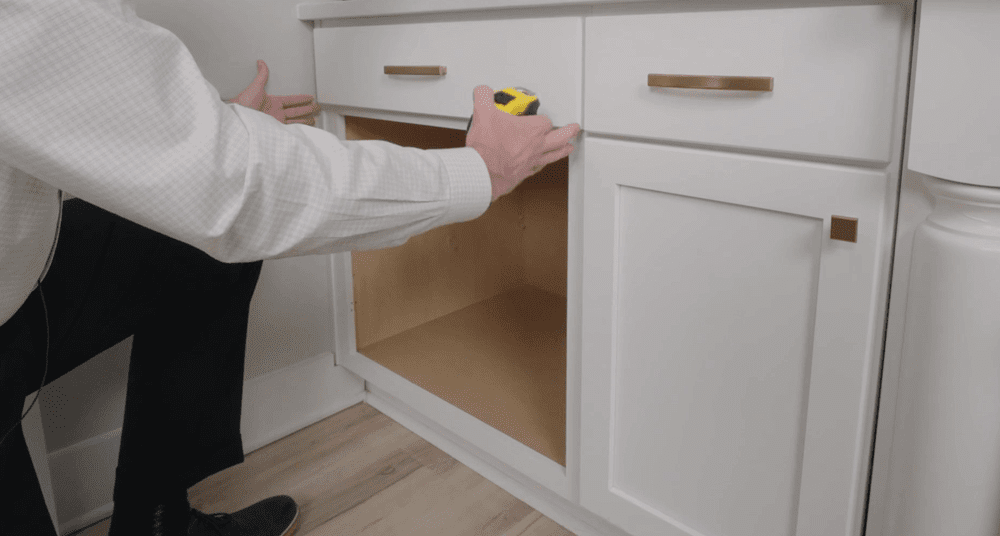
Hold the door at an angle under good lighting. If you see scratches or imperfections, resand as needed before moving on.

Step 4:
Test Your Stain
Always test stain on the back of a drawer front or door. This area will not be visible once installed and will allow you to confirm the color before committing.
If the stain appears too light or too dark, adjust the wipe time. Letting the stain sit longer deepens the color, while wiping immediately keeps it lighter.
Step 5:
Apply the Stain
- Stir the stain thoroughly before use.
- Apply using a staining sponge rag or small brush.
- Start with the backs of the doors first.
- Apply stain to the panel then the stiles and rails.
- Allow stain to sit briefly then wipe off excess.
- Use compressed air around panels to prevent stain buildup.
- Check for overlap marks or dry spots and correct while workable.
- If using water based stain work efficiently as it dries quickly
Step 6:
Allow Proper Dry Time
Let doors dry for 2 to 4 hours. Do not rush this step. Insufficient dry time can cause
adhesion issues or cloudiness under the clear coat.
Step 7:
Repeat on Door Faces
Once dry flip the doors and repeat the same process on the front and edges.

Sealing and Protecting Your Finish
A quality clear coat protects your stain and enhances durability. Using a sprayer will
help achieve a smooth, professional finish.
- Apply a thin coat to the face and edges.
- Allow to dry then flip and coat the back.
- Once fully dry lightly scuff sand with 320 grit
- Remove all dust using air vacuum or tack cloth.
- Apply a second coat to the back and allow to dry.
- Apply a second coat to the front and edges.
- If needed, lightly scuff with 600 grit and apply a third coat following the same back-and-front process.
Sealing and Protecting Your Finish
A quality clear coat protects your stain and enhances durability. Using a sprayer will help achieve a smooth, professional finish.
- Apply a thin coat to the face and edges.
- Allow to dry then flip and coat the back.
- Once fully dry lightly scuff sand with 320 grit
- Remove all dust using air vacuum or tack cloth.
- Apply a second coat to the back and allow to dry.
- Apply a second coat to the front and edges.
- If needed, lightly scuff with 600 grit and apply a third coat following the same back-and-front process.